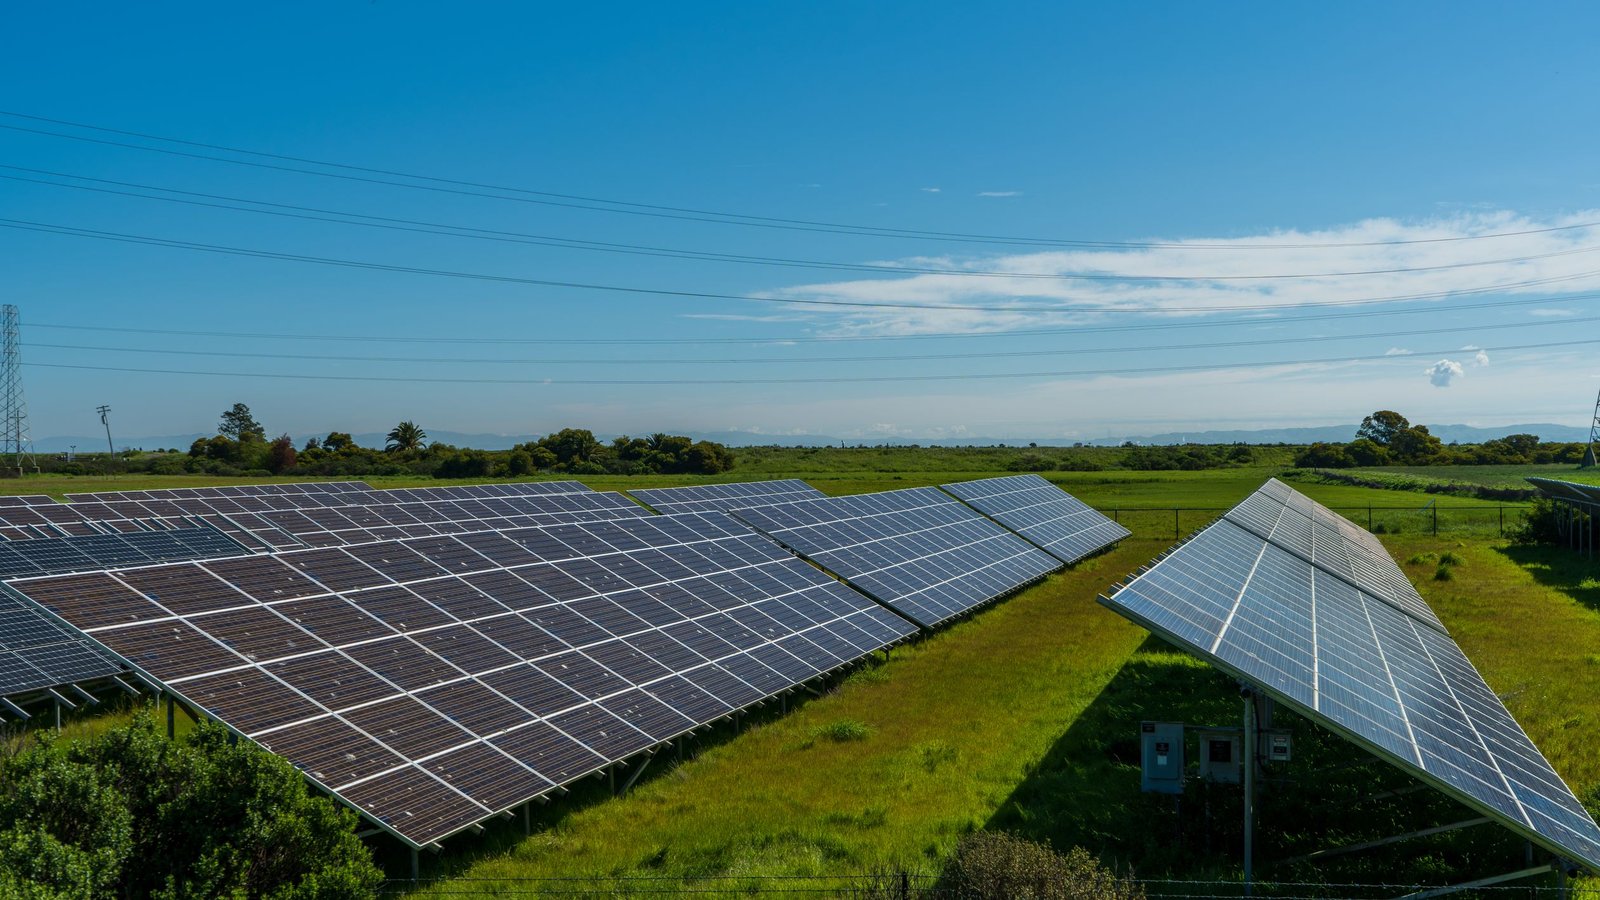
Installing a solar power system is one of the smartest investments for reducing electricity bills and using clean, renewable energy. Whether it's for a home, office, or commercial building, understanding the solar installation process helps you make informed decisions. Below is a detailed step-by-step guide explaining how a solar system is installed.
Solar energy is becoming increasingly popular due to rising electricity costs and environmental concerns. A properly installed solar system can provide reliable power for 25 years or more with minimal maintenance. The installation process involves planning, designing, mounting, wiring, testing, and commissioning the system to ensure maximum efficiency and safety.
The first step is conducting a detailed site survey. Solar experts inspect the roof or installation area to determine whether it receives sufficient sunlight throughout the day.
This information helps determine the ideal system capacity.
After the site survey, engineers design a customized solar solution based on the customer's electricity usage and available roof space.
A proper design ensures maximum power generation and long-term performance.
Before installation begins, necessary permissions and approvals are obtained from local electricity authorities if required.
Completing documentation beforehand avoids delays later.
The mounting structure forms the foundation of the solar system. It securely holds the solar panels in place and is designed to withstand harsh weather conditions.
The structure is carefully aligned to achieve the optimal tilt angle for maximum sunlight exposure.
Once the mounting structure is ready, the solar panels are installed and securely fastened.
Correct installation improves energy production and system lifespan.
After panel installation, electrical wiring connects the solar panels to the inverter.
Proper wiring ensures safe and efficient power transmission.
The inverter is one of the most important components of the solar system. It converts the DC electricity produced by solar panels into AC electricity used by household appliances.
The inverter is installed in a well-ventilated, protected location for optimal performance.
For hybrid or off-grid solar systems, batteries are installed to store excess electricity generated during the day.
Grid-connected systems without battery storage directly export surplus electricity to the power grid.
Before activating the system, technicians perform comprehensive testing to ensure everything is functioning correctly.
Testing guarantees safe and efficient operation.
For on-grid systems, the final step involves connecting the solar system to the electricity grid after approval from the utility provider.
The installation is now complete and ready for regular use.
Routine maintenance helps maximize energy production and extends the system's lifespan.
The solar installation process involves careful planning, quality equipment, professional installation, and thorough testing. From the initial site inspection to final commissioning, every step plays an important role in ensuring the system delivers maximum efficiency and long-term savings. By understanding the installation process, homeowners and businesses can confidently invest in solar energy and enjoy clean, sustainable power for decades.